Any business cannot deny the importance of a fully featured application. The best framework to design web and mobile applications is Python. Python has different libraries that allow software developers to design a feature-rich, cross-platform, and interactive application. One such Python library that is quite popular among software developers is Kivy. Kivy is an open-source library used for the cross-platform development of GUI applications. It is based on a graphical user interface library called OpenGL ES 2. So, let's start by learning the basics of the Kivy Python framework.
What is the Kivy Python framework?
Released in early 2011, the Kivy Python framework is an open-source platform for developing mobile apps with Python. This Python framework supports deployment on multiple platforms, including Windows, Mac OS X, Linux, and Raspberry Pi. It is a great choice for developers who want to create applications for multiple platforms, such as Android, iOS, and Windows. If you are a beginner and looking for a lightweight platform that is easy to learn, then you can go with Kivy Python without a second thought.
The Kivy framework gives developers a full set of tools they can use to make applications that look good and work well. It has a lot of features and capabilities that allow developers to make user interfaces that are dynamic, interactive, and interesting.
Design a basic mobile app with the Kivy Python Framework:
Let's get started with the Kivy framework. In this tutorial, we will learn to work with Kivy widgets, add events, lay out the UI, create a calculator application, and use the kvlang. Also, we will learn to package the application for iOS, Android, Windows, and macOS.
Step 1: Installing Kivy
The first step while designing a mobile app with Python is selecting an appropriate framework and downloading it onto your system. So, firstly, we will install Kivy on our devices.
Here we are downloading and setting up the Kivy library and its dependencies. After downloading the library, developers must set up a virtual environment so they can install the necessary packages. Once the virtual environment is created, developers can move on to the next step of creating their mobile application.
Creating a Python virtual environment:
This will add a few more subfolders to that directory in addition to copying the Python 3 executable that we have into a folder that is named my_kivy_project.
In order to make use of virtual environment, we will first need to activate it. On a Mac or Linux computer, we can do this by running the following command: $ source bin/activate while in the folder called my_kivy_project.activatedactivated the Python virtual environment using the above code. Now it's time to run pip to install Kivy. We need to run the following command on Linux and Mac:
Installation is a little bit more difficult when performed on Windows.
Using Kivy Widgets
A widget is a user-interactive component displayed on the screen. Every graphical user interface toolkit includes a collection of widgets. We may have previously utilized widgets such as buttons, combo boxes, and tabs. Kivy's framework includes numerous widgets.
Running a “Hello, Kivy!” Program
To see how Kivy works, take a look at the following “Hello, World!” application:
To use Kivy, our app must extend the App class and implement a custom build() method. This is where we’ll define our user interface, either by writing the code for it here or by calling it from another function. Here, we have to generate a Label widget and provide hint on its text, size, and position parameters.
Now, create MainApp class and call run() to run the app. When we do so, we well see the below screen:

Here is the output that you will get on the compilation of this program. It will be very helpful for software developers to debug their code using the below commands.
Adding Image widgets
The next step is to replace the Label with an Image and examine the visual differences.
Kivy offers several widgets that deal with images. Both Image and AsyncImage allow us to load images from either a local file or an external URL. We'll use the default Image class for this demonstration.
In this code, we will import the Image from the kivy.uix.image sub-package. There are many optional parameters that can be passed to the Image class, but the one you need to use is the source. By entering this, you can instruct Kivy to use a specific image. Here, you specify the absolute path to the image. The rest of the code will remain the same as previous one.
On running this code, you’ll get the below output:
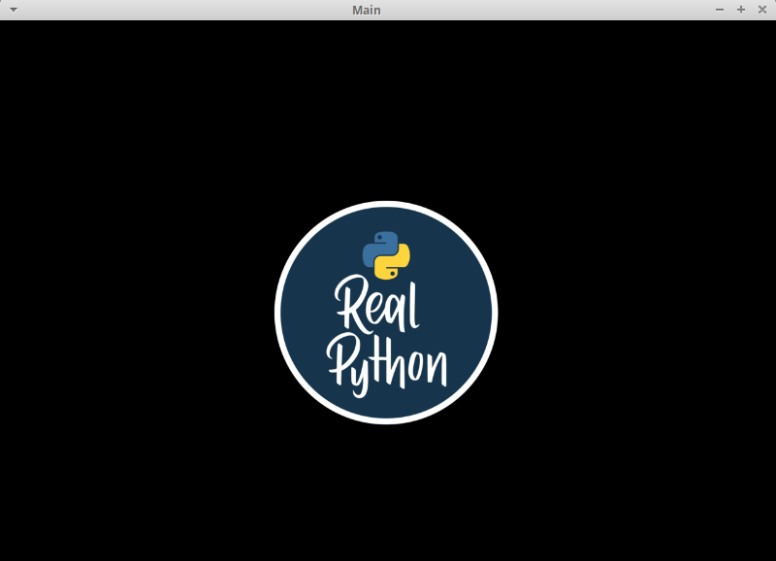
We have now learned to add images to a Python app through the widget.
Interface Designing
There is a different approach to widget layout depending on the GUI framework you use. In wxPython, we’ll use sizers, while in Tkinter, we use a geometry manager or layout. With Kivy, you’ll use layouts. There are a variety of Layout types available for use among which BoxLayout, FloatLayout, and GridLayout are quite common among Python developers
You can search the Kivy documentation for a comprehensive list of available layouts and checkout the kivy.uix for the actual source code.
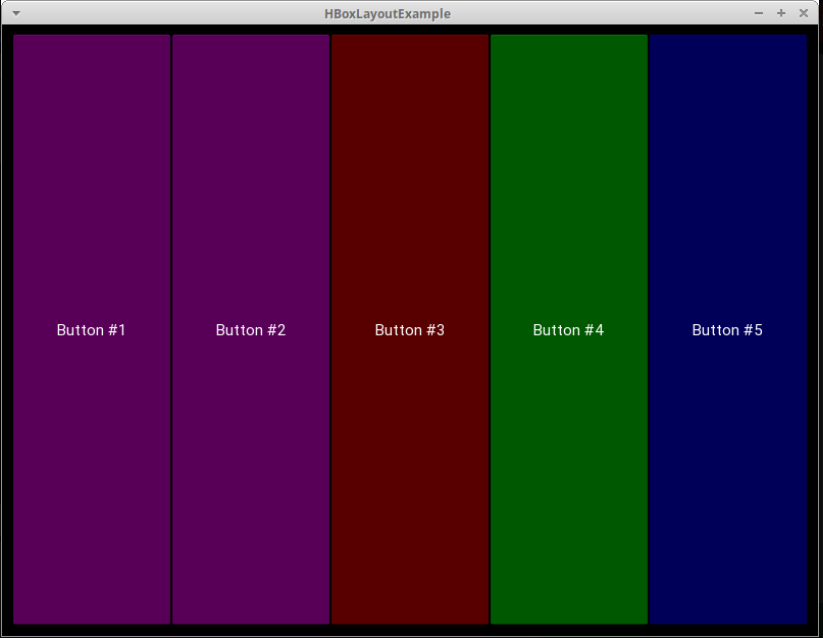
You can use the below code to test the BoxLayout:
Here is how we have imported the BoxLayout from kivy.uix.boxlayout and instantiate it.
Now we will create a list of colors and loop over a range of 5, creating a button btn for each iteration.
Try changing the background colour to some random color to make the screen look interactive. You will get the beow screen after executing the above code.
Adding Events
Kivy is also an event-based GUI toolkit like any other GUI toolkit. The framework can process input from the user's keyboard, mouse, and touchscreen. Kivy's Clock concept lets you preemptively schedule future function calls.
In addition to the EventDispatcher, Kivy also has the concept of properties. Properties facilitate validation checks. They also allow you to trigger events whenever a widget's size or position changes.
Let's add an event to your earlier button code:
In this code, we have a call button.bind() and link the on_press event to MainApp.on_press_button(). When the user presses the button you have provided, a message will be printed to the standard output.
Employing KV Language
With Kivy, you can also take advantage of a design language known as KV. The KV programming language allows you to abstract away from the implementation details of the interface and focus on the core functionality of the application. This adheres to the principle of separation of concerns and is a component of the Model-View-Controller architectural pattern. You can modify the preceding example to use KV language:
It's possible that this code seems off at first glance because we have created a Button without specifying any of its properties or linking its events. This code will allow Kivy to automatically look for the file with similar name as the class in lowercase.
Kivy will search for button.kv because we have use ButtonApp as the class name. Kivy will use that file to bring up the user interface if it is present and in the right format. Use the below code in your file to create a program:
Here’s the importance of each line:
Line 1 is used to call the Button function in the Python code. It instructs Kivy to find a button definition within the instantiated object.
Line 2 defines the button’s text.
Line 3 defines the size_hint to set the width and height.
Line 4 defines the pos_hint to set the button’s position.
Line 5 defines the on_press event handler. It tells the exact location of the event handler to Kivy using app.on_press_button().
Creating a Kivy Application
In this article, we will design a calculator using the Kivy framework that supports Addition, Subtraction, Multiplication, and Division. We will have to use a series of buttons and few boxes to display the equations and their results in this coding. Here’is how our calculator looks like in the end.

So, let's get start coding in python to design a calculator.
After completing the above code we will create the .on_button_press() event handler.
After that, we will use the elbow code to execute the solution .on_solution():
Now, we will grab the current text from the solution and use Python’s built-in eval() to execute it. The eval() function will execute your code and return the result of any user-created formulas, such as 1+2. When finished, the answer is used to update the solution widget.
Since eval() executes code at runtime, it is somewhat risky. For that reason, many programmers avoid using it for apps with complex inputs. Since eval() only accepts integers, operators, and periods, we can use it to design a simple calculator.
Here is how our application is on a desktop after we finished coding.

At the end, your coding screen will look like this:
Check the code thoroughly to avoid any possible mistakes.
Final thoughts: Kivy is a great and versatile Python framework for making mobile apps. It allows you to quickly and easily create user-friendly interfaces for your app and provides a lot of customization options to make it unique. With Kivy, you can create a basic mobile app with a few lines of code and have a great-looking and functioning app in a short amount of time.

No comments:
Post a Comment