In the first part of our blog, we discussed the basics of building an ASP.Net Core app with Angular. Here we will learn to create our API user entity. This is the second part which will help you build an app with asp net core and angular from scratch.
So without further delay, let’s straight away get to the topic and build an ASP.Net Core application with Angular. Follow the following steps to add an API user entity without much hustle. This ASP.Net Core app development with Angular tutorial will help you build an interactive application.
Step 1: Create a folder
First, create a folder called ‘Entities’ and then a class called AppUser.cs.
Note: First use the keyword and then Tab, this will help you create a property.

Source: khemlall-mangal.medium.com
Step 2: Install Entity Framework
Entity Framework is an object rational Mapper (ORM). It helps to translate the code into SQL commands that help us to update our tables in the database.
To install, Entity Framework, visit your extension and install nuget gallery.

Source: khemlall-mangal.medium.com
Press keys Ctrl+Shift+P
Search for the nuget option and click on the nuget gallery and search for the Microsoft entity framework core. We also use SQL Lite as our database which will be changed at the time of deployment.
Install the version that you have already installed in your project (sdk) ad. Verify the api.csproj and press on the ‘Install’ option.
Step 3: Create DBCONTEXT class
This class will help us bridge the gap between the data and code that have access to the database along with the DBcontext class. For the ASP.Net app creation, this class is must.
Create a new folder named Data
Create a new class called DataContext.cs

Source: khemlall-mangal.medium.com
Enter the following code.
In the startup class under configure services add:

Source: khemlall-mangal.medium.com
Step 5: Create Connection String
Go to the appsetting development.json file and copy the following code to create a Connection String.

Source: khemlall-mangal.medium.com
Again navigate back to the startup class and change a little bit of the code as we have mentioned below.
After updating the startup class, its time to update the hardcore string that we need to add to connect string. The below code example will help you understand.

Source: khemlall-mangal.medium.com
Code to update the hardcore string.
Step 6: Install a Dot Net-ef version 5.0.0
Alright, now we need to install a tool that is based on the SDK version you installed. i installed 5.0.0.
Install the Dot Net tool for app development which is global dotnet-ef- version 5.0.0. Navigate to nugetgaller.org and search for the donet-ef tool for the same version you have.
Step 7: Create database migration
Now that you have installed the 5.0.0 version, it's time to create a database schema or you can also code to create a database on our written code to make it simpler for you.
Press Ctrl+Shift+P and start your nuget gallery and search for Microsoft.EntityFrameworkCore. Install the package for great design.

Source: khemlall-mangal.medium.com
Now, stop your project in case it is running and pass the following command. ASP.Net uses C# language to build a strong backend for web applications.
Once you successfully run the command you must see the following folder.
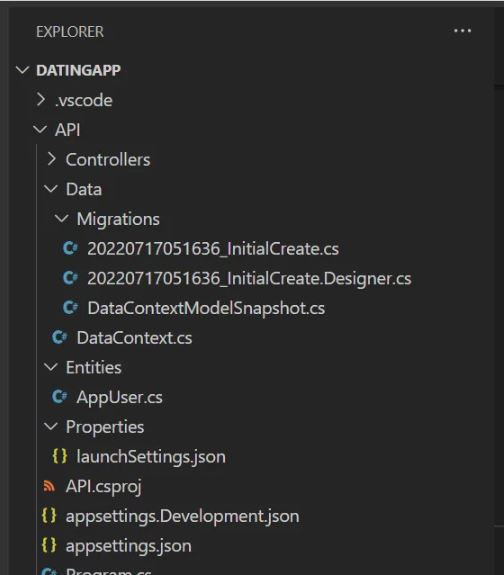
Source: khemlall-mangal.medium.com
Step 8: Create the Database
Run the below command to create a database.
Next, install SQL Lite
Press Ctrl+Shift+P to open the database and choose the database that you just created.
Now in order to create data you must see SQL Lite explorer and add it to your IDE.

Source: khemlall-mangal.medium.com
Right-click on the ‘user’ option, then New query insert and enter a few records. Below is an example that you can follow.
Once you have successfully created and right-clicked, you should see the following table with new records.

Source: khemlall-mangal.medium.com
Step 9: Create a controller
Create a controller named UserController. We also need to create a get request in order to get all the user data and receive a specific ID. The following code will help you understand better.
Navigate to swagger to see the new API.
Next, create a Collection, and after that add our getUsers request in order to verify the response.

Source: khemlall-mangal.medium.com
Send your request to https://localhost:5001/api/users and the newly added data to your database should now be visible.
Make our code asynchronous by doing so now. Making it more scalable by allowing multiple threads to operate on each request. Make your database call asynchronous if you must.
Code
Save your code.
Follow the steps wise of this ASP.Net core angular sample project and create your own app.

No comments:
Post a Comment